

Why is my Vape Leaking? - The Best Vape Tips and Tricks to Fix and Prevent Messy Leaks

Photo: @ Digital Imports
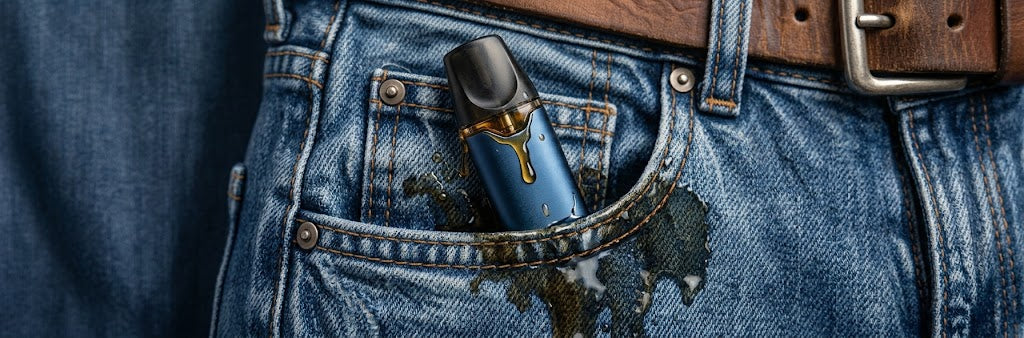
Few experiences in vaping are as instantly frustrating as reaching into your pocket or bag only to pull out a device covered in a sticky coating of e-liquid. Beyond the immediate unpleasantness of sticky hands and stained fabric, a leaking vape hits you where it hurts most: your wallet. E-liquid isn't cheap, and watching premium juice pool around the base of your tank or run down the side of your mod represents literal money down the drain.
However, the cost and mess are only part of the problem. A leaking device presents distinct hazards to your hardware and health. Liquid seeping into the internal circuitry of an electronic mod can short-circuit sensitive microchips, permanently ruining your device or causing battery failures. Furthermore, unevaporated e-liquid can seep into the airflow pathways, leading to harsh "spitback" where hot liquid shoots directly into your mouth during an inhalation. This article serves to help us understand why this happens and knowing how to rectify it quickly will save you time, money, and hassle.
Why is my vape leaking - Reasons for leaks?

Photo: @ Digital Imports
To solve a leak, you first need to understand the physical mechanisms behind it. A vape tank or pod relies on a delicate balance of air pressure, surface tension, and heat to contain liquid while delivering smooth vapor. When any part of this system is compromised, liquid inevitably finds the path of least resistance—usually out through the airflow vents or mouthpiece.
- Damaged or Misaligned O-Rings: Rubber or silicone O-rings form airtight seals between the glass, metal, and plastic components of your tank. If an O-ring is torn, degraded, flattened, or missing entirely, atmospheric pressure will push liquid past the seal. When this happens, it’s always good to buy a set of replacement O-Rings.
- Incorrect Assembly or Cross-Threading: Screwing tank sections or pod coils together too tightly or at an improper angle damages the threads (cross-threading), leaving tiny gaps where liquid can escape.
- Worn Out or Under-Saturated Coils: Wicks inside your coil heads consist of cotton or porous material. Over time, heat degrades cotton fibers, destroying their ability to retain liquid. Alternatively, if a new coil isn't fitted tightly into its base, e-liquid flows freely around the housing rather than absorbing into the wick.
- Thin E-Liquid Formula (VG/PG Ratio): E-liquids consist of Vegetable Glycerin (VG), which is thick, and Propylene Glycol (PG), which is thin. High-PG liquids flow rapidly through cotton wicks designed for thicker liquids, leading to oversaturation and flooding.
- Cracked Glass or Cracked Pod Housing: Even a hairline fracture breaks the vacuum seal inside a sealed tank system, allowing gravity and atmospheric pressure to force liquid out of the bottom airflow intakes.
- Chain Vaping and Overheating: Repeatedly firing your device generates excessive heat, which drastically thins out e-liquid inside the chamber. Thinned liquid saturates wicks faster than it can be vaporized, resulting in flooding.
What to do if Your Vape is Leaking

Photo: @ Digital Imports
When you catch your vape in the act of leaking, taking immediate action prevents permanent liquid damage to your battery unit and restores proper function.
- Power Down the Device: Immediately turn off your vape mod or pod device using the power button (typically five fast clicks) to prevent auto-firing or electrical short-circuiting.
- Disassemble the Components: Carefully separate the tank or pod cartridge from the battery housing or mod body.
- Clean the Battery Contacts: Use a dry cotton swab or paper towel to clean any pooled e-liquid out of the 510-connector thread or pod connection pins. Ensure contact points are completely clean and dry.
- Clear the Airflow and Chimney: Wrap a rolled-up tissue around the bottom airflow slots and blow firmly through the mouthpiece to clear excess liquid trapped in the central airflow.
- Inspect for Physical Damage: Check the glass tube, pod casing, silicone seals, and coil base under good lighting to spot cracks, split O-rings, or loose fittings.
How to fix leaking

Photo: @ Digital Imports
Once you have contained the initial spill and cleaned your equipment, apply these targeted troubleshooting steps to fix the underlying fault:
1. Replace or Reinstall the Coil Head
If your coil is over two weeks old or tastes burnt, replace it immediately. When installing a coil—whether press-fit or threaded—ensure it sits perfectly flush against the housing without forcing it. Ensure all rubber seals on the coil structure are present and undamaged.
2. Inspect and Replace O-Rings
Take apart your tank fully and examine every rubber ring. Most tanks ship with a spare parts bag containing replacement O-Rings. If an O-ring looks flattened, cracked, or stretched out, swap it for a fresh one. Apply a single drop of e-liquid to the new O-Ring to help it slide smoothly into place without pinching or twisting.
3. Match E-Liquid Viscosity to Your Device
Check your liquid's VG/PG ratio against your coil's resistance rating:
- Sub-Ohm Coils (Below 0.6 ohms): Require thick liquids with high VG content (70% VG / 30% PG or higher) to prevent flooding through larger wick ports.
- Mouth-to-Lung (MTL) / High-Resistance Coils (Above 0.8 ohms): Perform best with 50% VG / 50% PG formulas that absorb quickly through smaller wicking ports.
4. Adjust Power Settings
If your wattage setting is configured too low for your installed coil, the heater will fail to vaporize liquid as fast as the wick draws it in. Increase your device's power output into the middle of the recommended wattage range printed on the side of the coil casing.
5. Check Fill Levels and Seal the Top Cap
Never overfill a pod or tank. Always leave a small air bubble (roughly 10% to 15% empty space) at the top when refilling to maintain internal vacuum pressure. Screw the top cap back on promptly after filling so liquid doesn't sit open to atmospheric pressure.
Tips on How to Prevent Leaking

Photo: @ Digital Imports
Preventing leaks is far easier than dealing with messy cleanup. Incorporate these basic habit shifts into your routine to keep your device leak-free:
- Store Devices Upright: Always store your vape vertically when not in use. Laying a tank or pod flat on its side allows e-liquid to push against airflow holes or saturate the chimney channel over time.
- Close Airflow Control During Storage and Refilling: If your tank features an adjustable airflow ring, shut it completely before unscrewing the top cap to refill. Keep it closed whenever transporting the device in a bag or pocket.
- Inhale Gently and Consistently: Avoid drawing too hard on your mouthpiece. Pulling with excessive force creates negative pressure that sucks raw e-liquid into the central airflow chamber faster than the coil can heat it up.
- Protect Your Vape from Temperature Extremes: Never leave your device in a warm car, near direct sunlight, or outdoors on hot days. Excessive ambient heat thins out e-liquid, expands air inside the tank, and forces liquid through internal seals.
- Empty Tanks Before Air Travel: Airplane cabin pressure changes rapidly during flight, expanding trapped air inside sealed tanks and forcing e-liquid out through airflow vents. Always empty your tank completely before flying.
- Remove the Pod/Tank when Charging: While charging, your vape battery may heat up and cause the juice to be thinner and lead to oversaturation. It’s always recommended to remove your pod or tank to avoid having the coil heat up with the battery.
By understanding the balance of vacuum pressure and surface tension within your tank, performing routine maintenance, and matching the correct liquid to your hardware, you can permanently eliminate leaking and enjoy a clean, hassle-free vaping experience.
Key Takeaways/Final Thoughts
Need a quick breakdown of this article? Here are our key takeaways below:
- The Risks: Leaking wastes e-liquid, causes harsh spitback, and can short-circuit internal electronics or ruin battery components.
- Common Causes: Leaks stem from damaged O-rings, loose/worn coils, cracked housing, chain vaping, or e-liquid that is too thin for your coil.
- Immediate Response: Turn off the device, separate the pod/tank, dry the contact pins with a swab, and blow excess liquid out of the airflow path.
- Hardware Fixes: Replace damaged seals or worn coils, ensuring all parts fit flush and aren't over-tightened.
- Liquid & Power Fixes: Use high-VG liquid for sub-ohm coils and 50/50 VG/PG for MTL coils, set wattage to the recommended range, and leave a 10–15% air gap when filling.
- Best Prevention Habits: Store devices upright, close airflow during refilling, inhale gently, remove pods while charging, keep away from heat, and empty tanks before air travel.
Need new pods or looking for a new vape? Head over to Digital Imports to solve your leaking issues today!